
You're going to love this super easy and quick DIY to create a decor element with a big impact. We didn't even realize how beautiful they were going to be until they were complete.
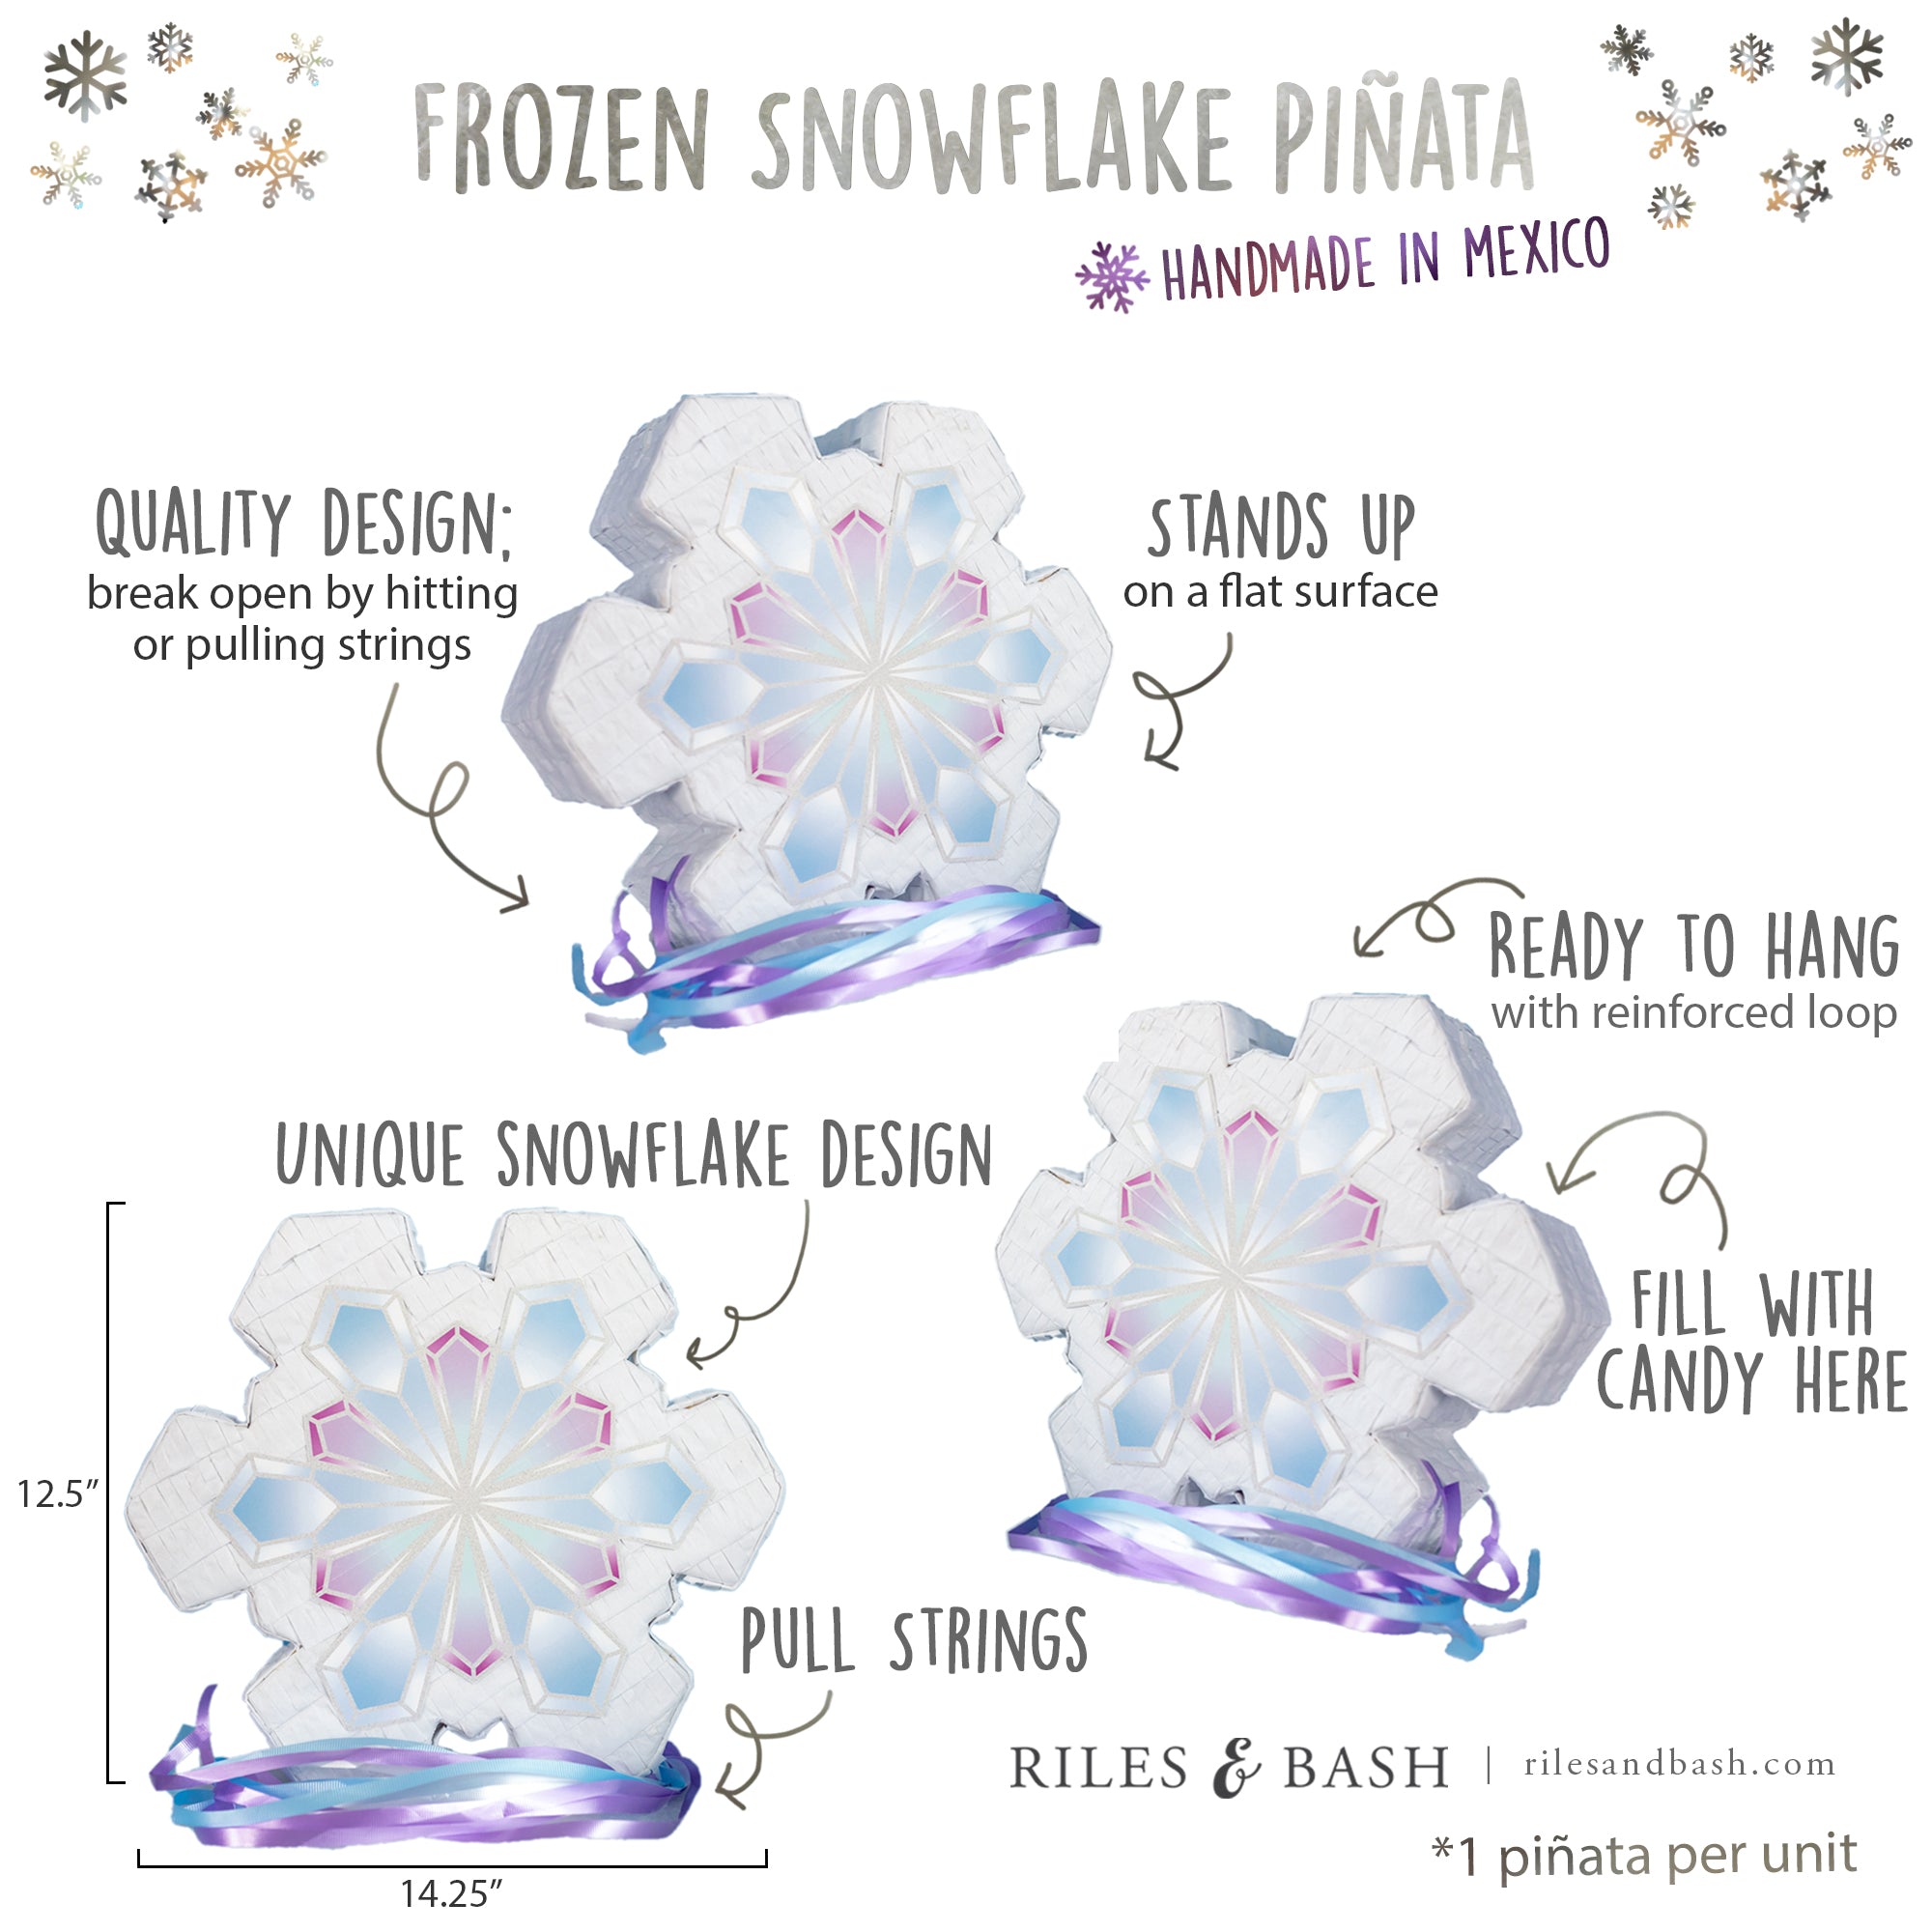
For a Frozen inspired birthday party we set the scene with the Riles & Bash Frozen Snowflake Balloons and Winter Wonderland Kit. It includes all of the accessories you need to set it up including a hand held balloon pump.

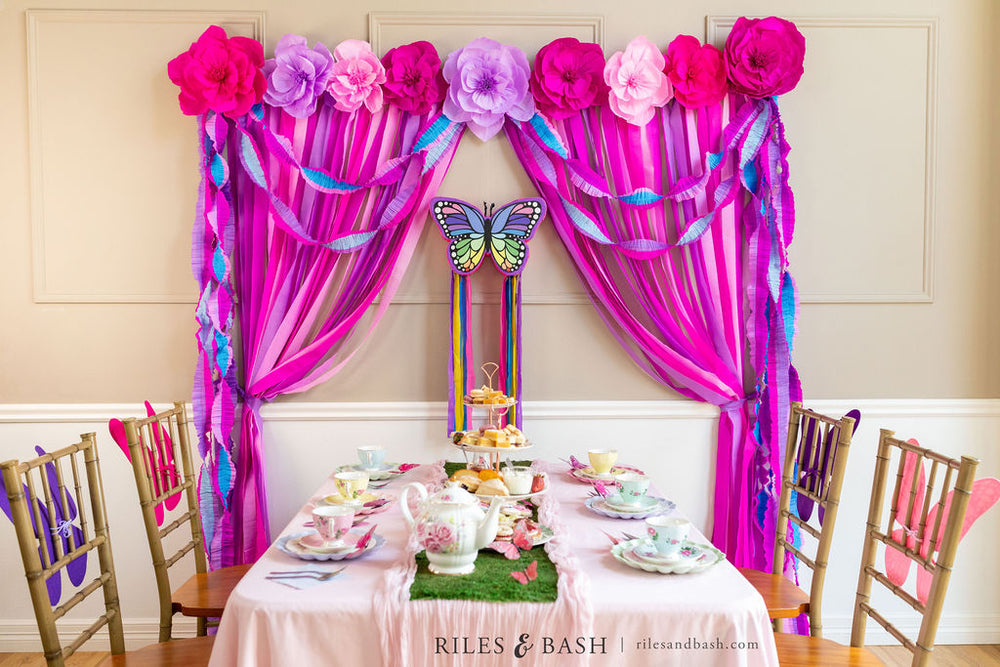
Then we created a decadent dessert buffet full of wintery treats. You can check out all of the details of the Frozen party and the delectable treats here.
The table included some snowflakes, snow blankets and magic wands but we wanted to add a wintery element that could give some height to the table so we came up with this Snowy Tree DIY to complete the look.

Here are the steps to create your own Snowy Trees...
Here's what you're going to need:
- Styrofoam or Cardboard Cones in 3 different sizes
- Fluffy White Yarn (approximately 48 yards)
- A pair of scissors
- That's it! No glue or anything else needed!

STEP 1. WRAP THE CONES
Start at the bottom of the cone. Hold the starting tail of yarn against the styrofoam and then begin to wrap the yarn around the cone.
Secure the starting tail to the styrofoam by wrapping the yarn around it.
As you continue to wrap the cone, go over the previously wrapped yarn to give it a full and fluffy look.

PRO TIPS:
As you wrap, you can switch up the angle of the yarn so it's not totally uniform. For example, you can wrap a couple rows straight around the cone and then the next row or two you can angle the wrap up so the next row is on a 45 degree angle.
Make sure that there is no yarn across the bottom of your cone. You want the yarn to be flush with the base so that you can easily stand the cones up once they are done.
STEP 2. FINISH THE CONES
Once you've fully wrapped your cone and you are happy with the look, cut the yarn giving it a little bit of a tail and stick it into one of the wrapped loops.
PRO TIPS:
We found that the middle is the best place to hide the tail, instead of the top.


Ta Da! That's it. See how easy that is? And now you have a gorgeous Snowy Tree Trio to add to your Frozen Inspired party or to any winter decor.


Let us know what you think. Show us your Snowy Trees DIY and how you used them.


Leave a comment